📖 Article Content 📖
There is something truly special about creating something with your own hands, especially when it is something that makes you feel wonderful and confident. Thinking about a comfortable and supportive garment, one that gives a little extra something, often leads people to consider making their own. It is a rewarding project, giving you a chance to have a garment that fits just right, made exactly to your liking. You get to choose the feel of the fabric and the look of the design, which is quite a pleasant thought.
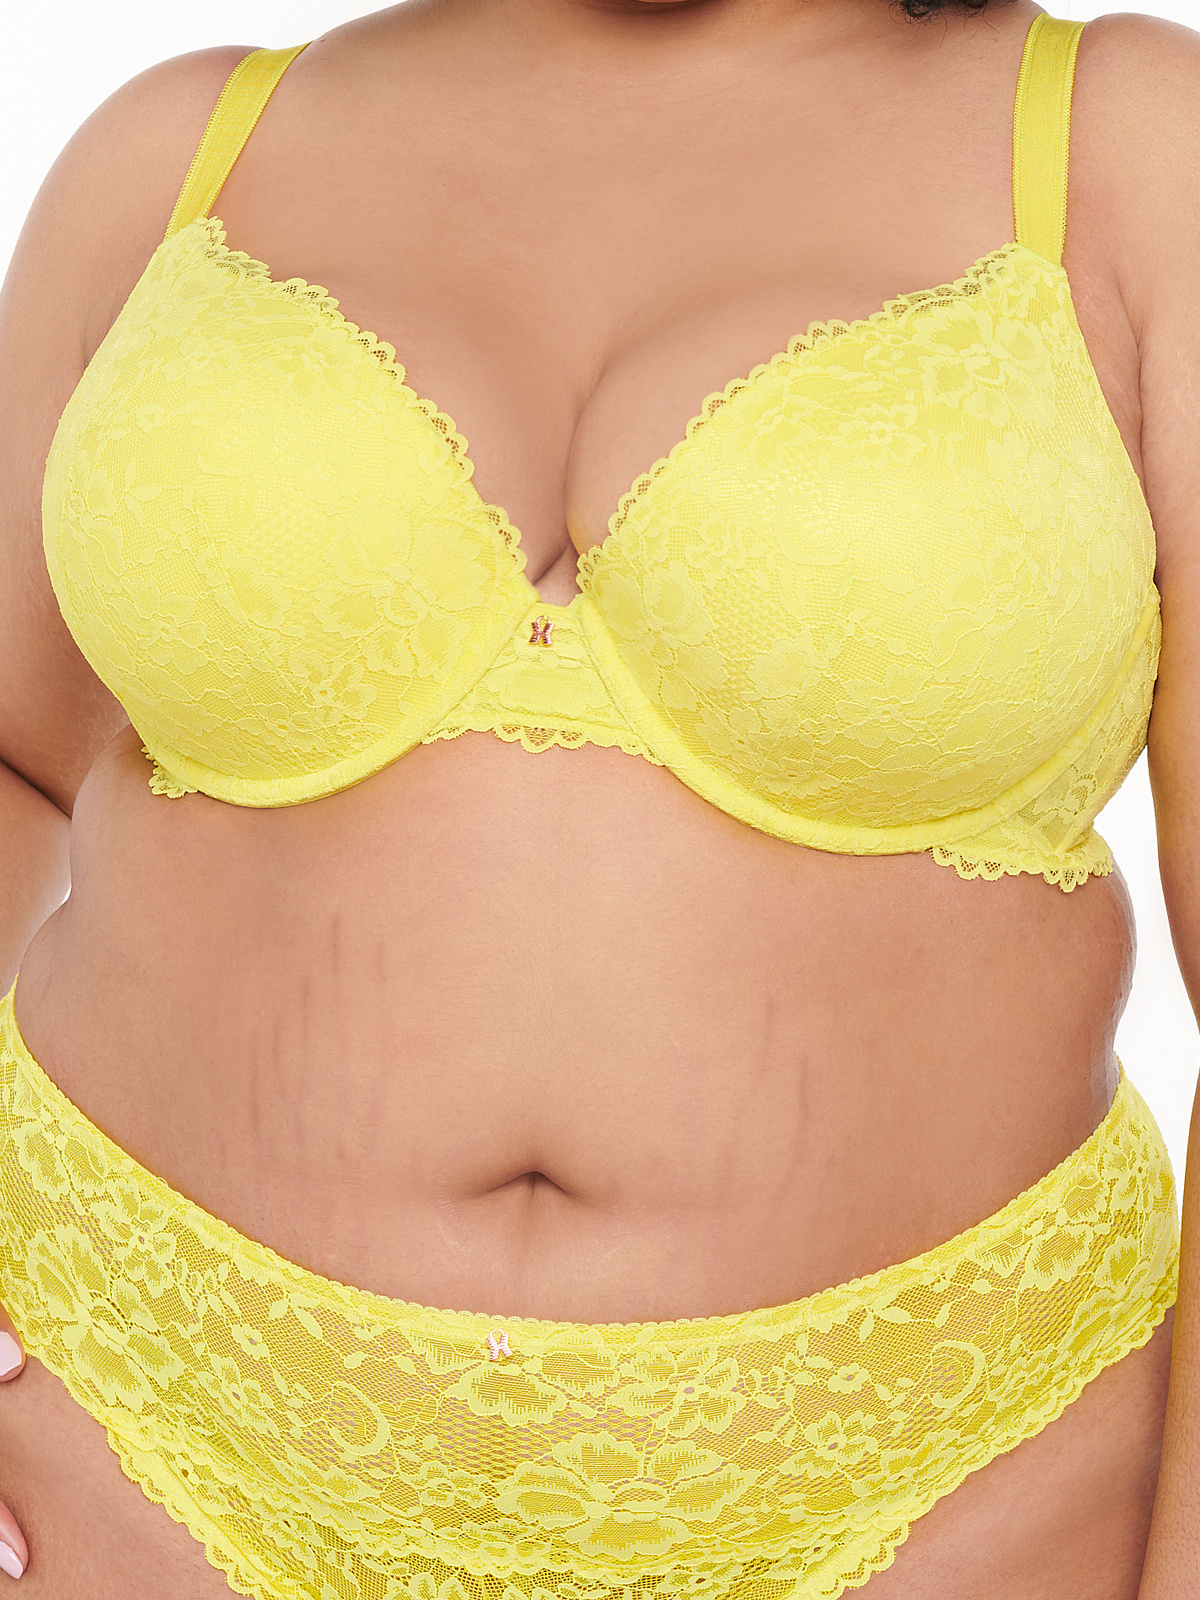
For those curious about how to make a push up bra, it might seem like a bit of a big undertaking at first glance. Perhaps you are thinking about all the tiny pieces and the way they come together, almost like trying to understand a vast, untouched land that has so many parts. Yet, with a little guidance and some patience, you will find that putting one together is very much within reach. It is a process that builds up, piece by piece, until you have something complete and truly useful.
This guide aims to smooth out the path for you, showing you the simple steps involved in bringing a push-up bra to life. We will go over what you need, how to prepare your materials, and the careful actions that bring it all together. Just like checking a piece of writing for little mistakes before it goes out, you will learn to look at your work with an eye for detail, making sure everything is just as it should be for a lovely finished item. So, get ready to turn some fabric into a garment that gives you a little boost.
Table of Contents
- What Do You Need to Start Your How to Make a Push Up Bra Project?
- Getting Your Pattern Ready for How to Make a Push Up Bra
- Putting the Pieces Together - How to Make a Push Up Bra
- Finishing Touches for Your How to Make a Push Up Bra
- What Happens If Something Goes Wrong When You How to Make a Push Up Bra?
What Do You Need to Start Your How to Make a Push Up Bra Project?
Getting started on a new sewing project, especially something like how to make a push up bra, feels a bit like preparing for a trip to a place you have not seen before. You would want to make sure you have everything packed and ready. For making a bra, this means having the right kind of fabric, the necessary stretchy bands, and the little bits and pieces that give it its shape and hold it together. It is not just any fabric that will do; you need something that gives a little, but also holds its form, so.
Think about what you would want your bra to feel like against your skin. Often, people pick a soft jersey or a special kind of stretchy cloth that feels nice. You will also need some strong thread, which is quite important for keeping everything in place. Then there are the little metal or plastic pieces, like the rings and sliders that let you adjust the straps, and the hook-and-eye closure at the back. These small items really do make a big difference in the finished product.
For the 'push-up' part, you will need some padding material. This can be foam or a similar soft substance that you can shape to fit inside the bra cups. Sometimes, these pads come ready-made, or you might cut them from a larger piece. It is all about giving that gentle lift and shaping. Having all these items laid out before you begin can really help make the whole process feel less overwhelming, almost like seeing all your supplies for a long journey spread out before you.
- Hey Pookie Hey Dookie Lyrics
- Ar Quiz Answers Cheats
- Peanut Head Proud Family
- Brazilian Wax Happy Ending
- The Bruzz House
Gathering Your Materials for How to Make a Push Up Bra
When you are getting all your bits and pieces together for how to make a push up bra, it is a bit like gathering provisions for an adventure into a place that is vast and mostly covered in white. You need to be sure you have enough of everything. For instance, the main fabric for the cups and band should be a good quality stretch knit, maybe something with a little bit of spandex for that gentle give. You will also want a lining fabric, which can be a lighter, softer knit, perhaps a mesh, to go against your skin. This adds comfort and helps keep the bra's shape.
Then there are the elastic bands. You will need different widths for different parts: a wider, firmer elastic for the bottom band of the bra, which gives the main support, and narrower, softer elastic for the top edges of the cups and the armholes. This is where the fit really comes into play, as the elastic helps the bra hug your body just right. Do not forget the underwire casing, which is a narrow strip of fabric that the underwires will slide into. It is a very small detail, but it is quite important for structure.
The underwires themselves are metal or plastic pieces that provide a lot of the support and shape. They come in different sizes and shapes, so picking the right ones for your pattern is key. And, of course, the padding for the push-up effect. This might be a pre-formed foam cup, or you might get a sheet of foam and cut it to the exact shape you need. Having a complete list and checking things off as you go can prevent those moments where you realize you are missing something tiny but essential, which is that kind of thing that can slow you down.
Getting Your Pattern Ready for How to Make a Push Up Bra
Before you even think about cutting into your chosen fabric for how to make a push up bra, you need to get your pattern pieces ready. This step is a bit like drawing a map before you explore a new area. A good pattern will have many different parts: pieces for the cups, the frame (the part that connects the cups and goes around your body), the wings (the side and back parts), and the straps. Each piece has a specific role, and they all need to fit together perfectly.
You will usually find patterns printed on large sheets of paper. It is a good idea to trace your size onto a separate piece of paper, rather than cutting directly into the original pattern. This way, you can keep the original pattern intact for future use or for making different sizes. When tracing, pay close attention to any lines that show where to cut or where to sew, as these are very important guides. Sometimes, patterns will have little marks that tell you how to line things up, which are quite helpful.
Once you have your pattern pieces traced, you will want to cut them out carefully. Using sharp scissors for paper will make this job easier and give you clean edges. Remember that the accuracy of your pattern pieces will affect how well your bra comes together later on. Any little wiggles or uneven cuts now might mean things do not quite line up as well as they should when you start sewing, so taking your time here is a good plan.
Are There Special Tools for How to Make a Push Up Bra?
When you are thinking about how to make a push up bra, you might wonder if you need a whole new set of tools. The good news is that many of the tools you use for general sewing will work just fine. A sewing machine is, of course, a primary tool, and one that can handle stretchy fabrics is very helpful. Some machines have special stitches for elastic, which is quite useful. You will also need a good pair of fabric scissors, separate from your paper scissors, to make clean cuts in your chosen material.
Beyond the basics, there are a few items that can make the process of how to make a push up bra a bit smoother. Fabric clips, instead of pins, are often preferred for stretchy fabrics because pins can sometimes leave little holes or distort the material. A seam ripper, which is a small tool for taking out stitches, is also a must-have. Everyone makes little mistakes, and this tool helps you fix them neatly without damaging your fabric, almost like a grammar checker for your sewing, helping you correct those little slips.
Another helpful item is a walking foot for your sewing machine. This attachment helps feed multiple layers of fabric through the machine evenly, which is especially good when working with slippery or stretchy materials. It prevents one layer from stretching more than the other, making your seams much neater. While not strictly necessary, having these few specialized items can certainly make the experience of making your own bra much more enjoyable and give you a more professional-looking result, which is really nice.
Putting the Pieces Together - How to Make a Push Up Bra
Now comes the exciting part of how to make a push up bra: actually sewing the pieces together. This is where your flat pieces of fabric start to take on a three-dimensional shape, a bit like how a vast, flat ice sheet can give way to mountainous islands once you look at it differently. You will typically start with the bra cups, sewing the various cup pieces together to form the curved shape. It often involves sewing two or three pieces for each cup, making sure the curves match up smoothly.
Once the cups are shaped, you will attach them to the bra frame. This frame is the central part that sits under the cups and extends around your body. It is where the underwire casing will eventually go, so getting this connection right is very important for support. You will then attach the wings, which are the side and back pieces, to the frame. This starts to create the full band of the bra, which goes around your torso.
As you sew, it is a good idea to press your seams open or to one side, depending on the pattern instructions. This helps the fabric lie flat and makes the finished bra more comfortable to wear. Remember to use a stretch stitch on your sewing machine if your fabric has a lot of give. This stitch allows the seams to stretch with the fabric, preventing them from popping open when you wear the bra. Taking your time with each seam and making sure it is straight and strong will pay off in the long run.
How Do You Create That Lift in Your How to Make a Push Up Bra?
The defining feature of how to make a push up bra is, of course, the lift. This is achieved primarily through the use of padding inside the cups and the clever shaping of the cup pieces themselves. After you have sewn your main cup pieces, you will usually add the padding. If you are using pre-formed foam cups, you might just insert them into a lining layer that you have sewn. If you are cutting your own padding, you will shape it and then attach it to the inside of the fabric cup, perhaps by gently sewing it in place or securing it within a separate lining layer.
The placement and thickness of the padding are what really give the push-up effect. Some designs have thicker padding at the bottom of the cup to lift, while others might have it angled slightly to push inward. It is a bit like sculpting, trying to get just the right amount of fullness and shape. The underwires also play a very big role here. Once the cups are attached to the frame, you will sew the underwire casing onto the seam where the cup meets the frame. Then, you carefully slide the underwires into these casings.
After the underwires are in, you will close off the ends of the casing to keep them from poking out. This step is quite important for comfort and safety. The combination of the structured cup shape, the strategically placed padding, and the support from the underwires all work together to create that desired lift and shape. It is a very satisfying moment when you see the cups take on their full, rounded form, knowing you put all those elements together.
Finishing Touches for Your How to Make a Push Up Bra
Bringing your how to make a push up bra project to a close means adding all the little bits that make it wearable and comfortable. This includes attaching the elastic bands, adding the straps, and putting on the closure at the back. It is a bit like adding the final details to a map, ensuring all the pathways are clear and usable. You will typically start by sewing the wider elastic to the bottom edge of the bra band, stretching it slightly as you sew to give it a good fit against the body.
Then, you will attach the narrower elastic to the top edges of the cups and around the armholes. This elastic helps the bra sit smoothly and prevents gaping. Take your time with these elastic applications, as they can be a bit tricky to get just right, but they are very important for comfort and the overall look. Often, you will sew the elastic on in two passes: first, to attach it, and then to fold it over and topstitch it down, creating a neat finish.
Next come the straps. These are usually made from a strip of elastic or a special strap material. You will attach one end to the front of the bra, near the top of the cup, and the other end to the back wing of the bra. You will also thread the strap through the rings and sliders, which allow you to adjust the length. Finally, you will sew on the hook-and-eye closure to the back wings, making sure the hooks line up with the eyes. Once these last pieces are in place, your handmade push-up bra is complete, and that is a very good feeling.
What Happens If Something Goes Wrong When You How to Make a Push Up Bra?
Even with the best plans, sometimes things do not go exactly as you expect when you are learning how to make a push up bra. Perhaps a seam is a little crooked, or the elastic did not stretch quite right, or maybe a piece of fabric got cut a tiny bit off. It is a bit like finding a small error in a piece of writing after you thought it was perfect. The good news is that most sewing mistakes can be fixed. The seam ripper is your best friend here, allowing you to gently undo stitches without harming your fabric. This tool is quite handy for those moments.
If you find that a seam is not straight, or if the fabric puckers, do not hesitate to unpick it and sew it again. It takes a little more time, but the result will be much better. Sometimes, a piece might not fit together perfectly, and you might need to trim a tiny bit of fabric or adjust your seam allowance. This is part of the learning process, and it helps you understand how different parts of the bra come together. It is a bit like making small adjustments to a map after you have explored a little, making it more accurate for the next time.
If the bra does not fit quite right after you have finished it, perhaps it is too tight or too loose, you can often make adjustments. For instance, you might add a longer piece of elastic to the band, or adjust the strap length. For future projects, you can make notes on your pattern about what worked and what did not, helping you improve with each new bra you make. Every little challenge is a chance to learn, and pretty much every problem has a solution when you are making things with fabric.
This guide covered the steps for how to make a push up bra, from gathering your materials like special fabrics, elastic, and padding, to preparing your pattern pieces carefully. We looked at the tools that help you along the way, including basic sewing machine needs and helpful additions like fabric clips and a walking foot. The process of putting the bra together, starting with shaping the cups and attaching them to the frame, was explained. We also discussed how to create the lift using padding and underwires, and the final steps of adding elastic, straps, and the back closure. Lastly, we touched on how to handle common challenges and mistakes, emphasizing that most issues can be fixed and that each attempt builds your skill.